|
|
||
|
1/2 Ton Chevy Brake Line
After a little research, I found out that 1/2 Ton Chevy pick up brake lines would work great in front of a TJ. Having lift my TJ 3.5", the stock brake lines had reach their maximum lenght. They were limiting my flex (the rubber hose was actually retaining the axle). So I was in the market of buying some stainless steel braided line. Needless to say that I was not going to pay 150$ for a pair of front brake lines.
Stock brake lines might be ok to drive arround and in fact they are. I have even wheel with them. I was just on time borrow.
I use part SP8439 at CarQuest, retail 45$ each. You can probably find a better price if you look arround. Line come with 2 copper washers and a retaining clip.
Other part numbers:
- Auto
Sense: BH177760 - NAPA #38620
Tech info:
- Stock TJ lines are 18" long ( TJ use left and right brake lines ... ie they are mirror and have a different part number ) - 1995 YJ brake lines are 4" longer and would work on TJs ! - 95 YJ are 22" long - After market lines are 24" long - 1/2" Ton Chevy 25" long ( Only one model, no left and right )
Time: 1 hour
Please let me know if you have any questions
|
|
|
What you need
- 2 Brake lines - Safety goggle - 9/16 socket - 3/8 wrench - T-40 torx bit - Dot3 Brake fluid - Oil container - Rag - 5/16 drill bit - 1/4 drill bit - 3/8 tap
|
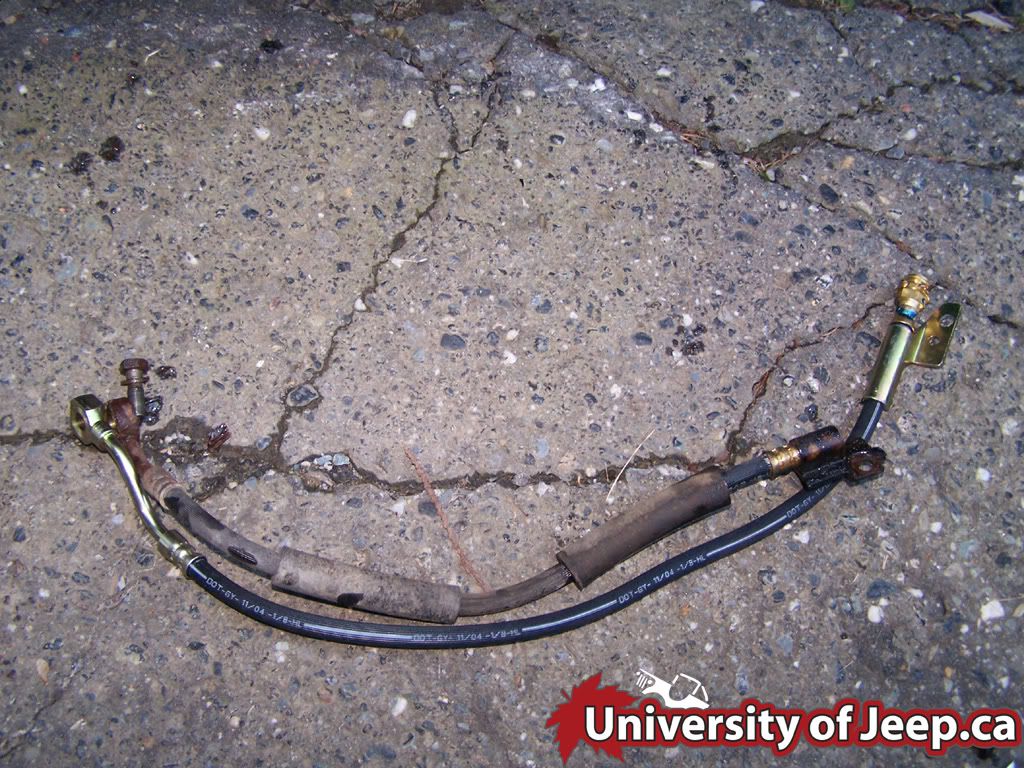 |
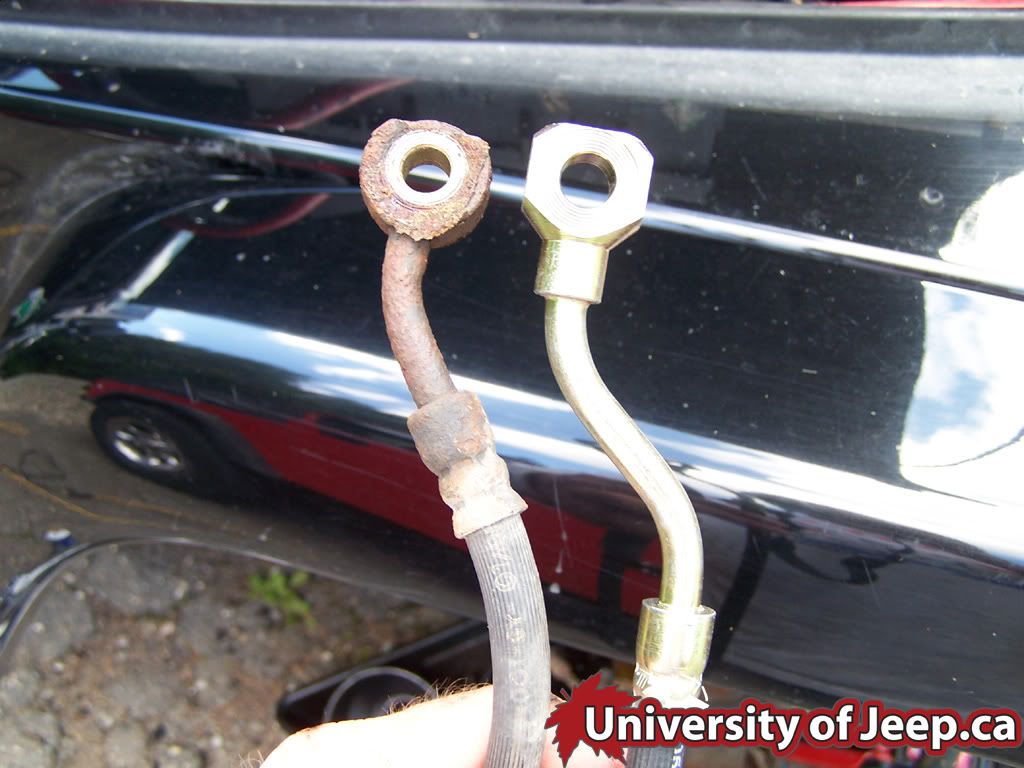
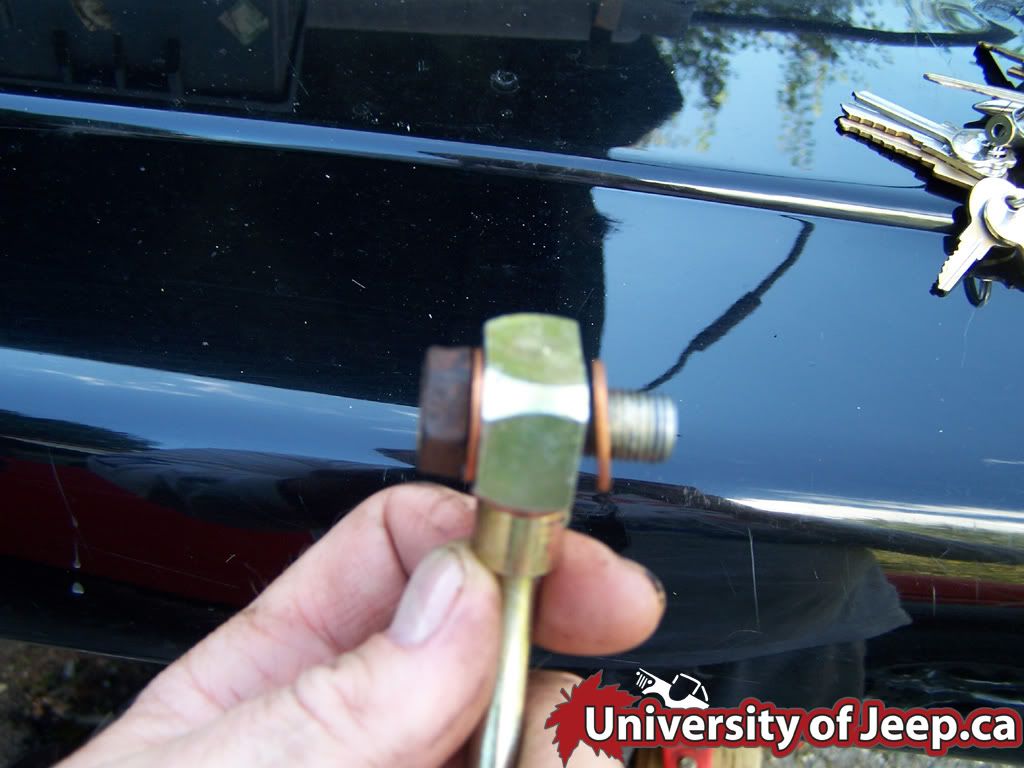
1. Unpack your brake line and make sure they are in great shape and that the 2 copper washers are there. Those act like a seal. Also, allow some time for the rubber to unfold.
The pic show the new line compare to the stock TJ one. |
 |
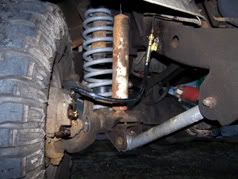
2. Here's a closer view of the caliper side. Although the metal piece is not the same it fits without any modification. |
|
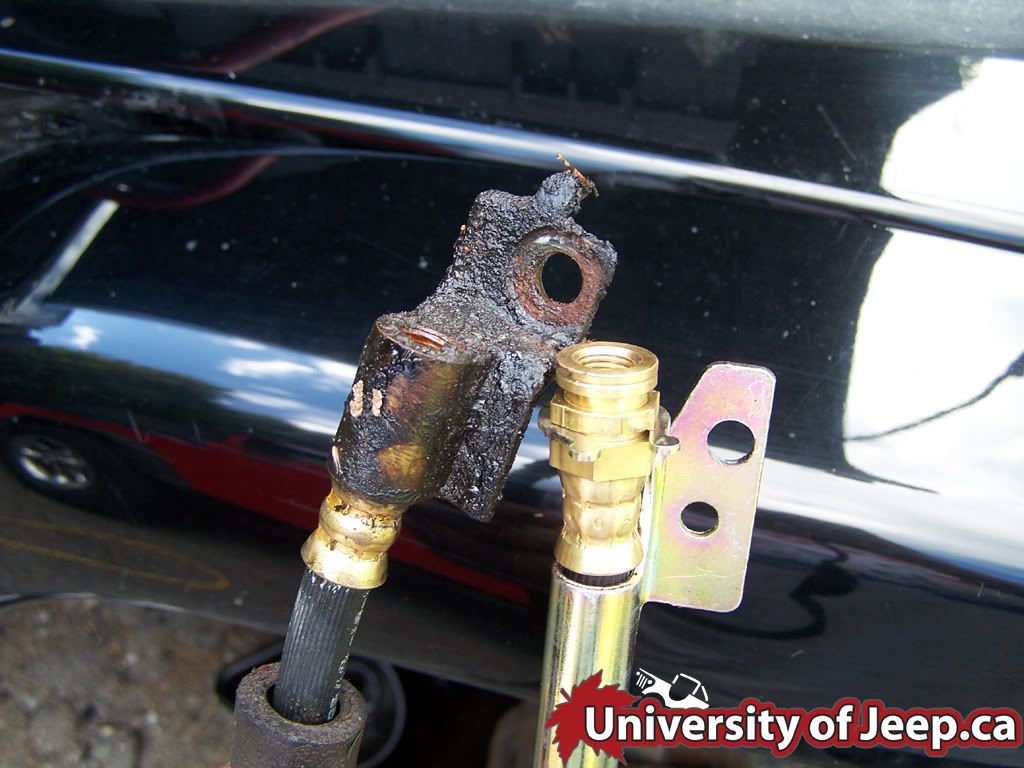 |
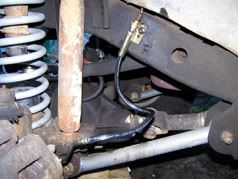
3. On the other side, the mounting bracket is the main difference. The hole is not at the same place. You will need to make a new on in the frame or bend slightly the brake line. |
|
|
|
|
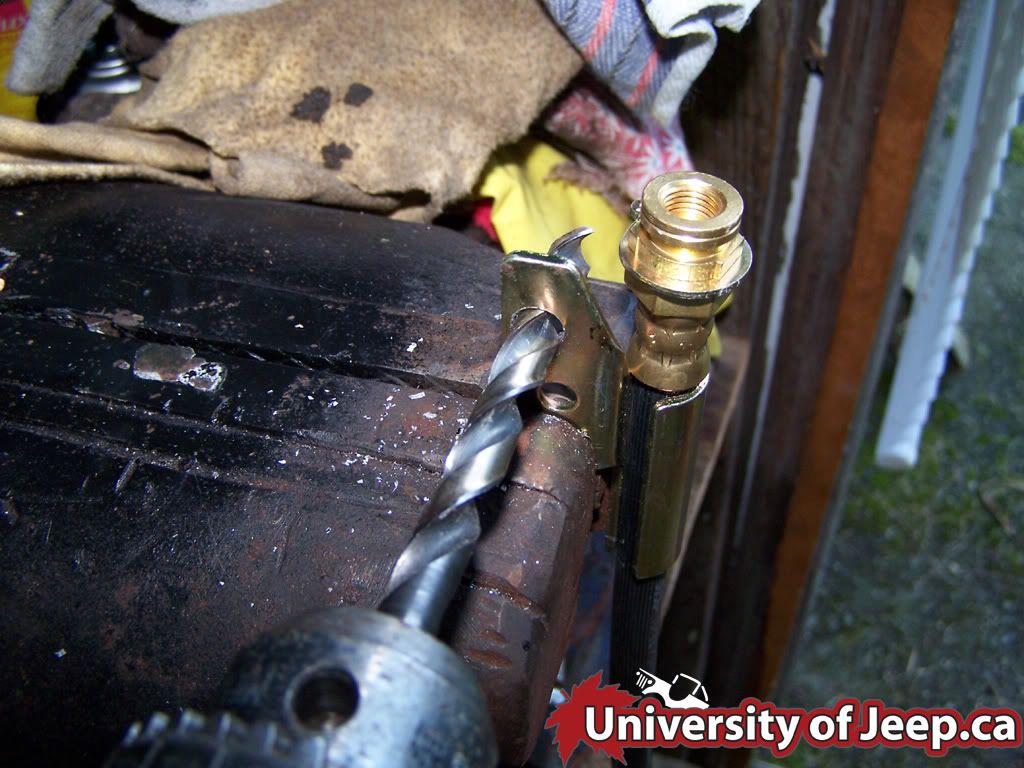
4. You will have to drill one hole 5/16 to be able to use it. |
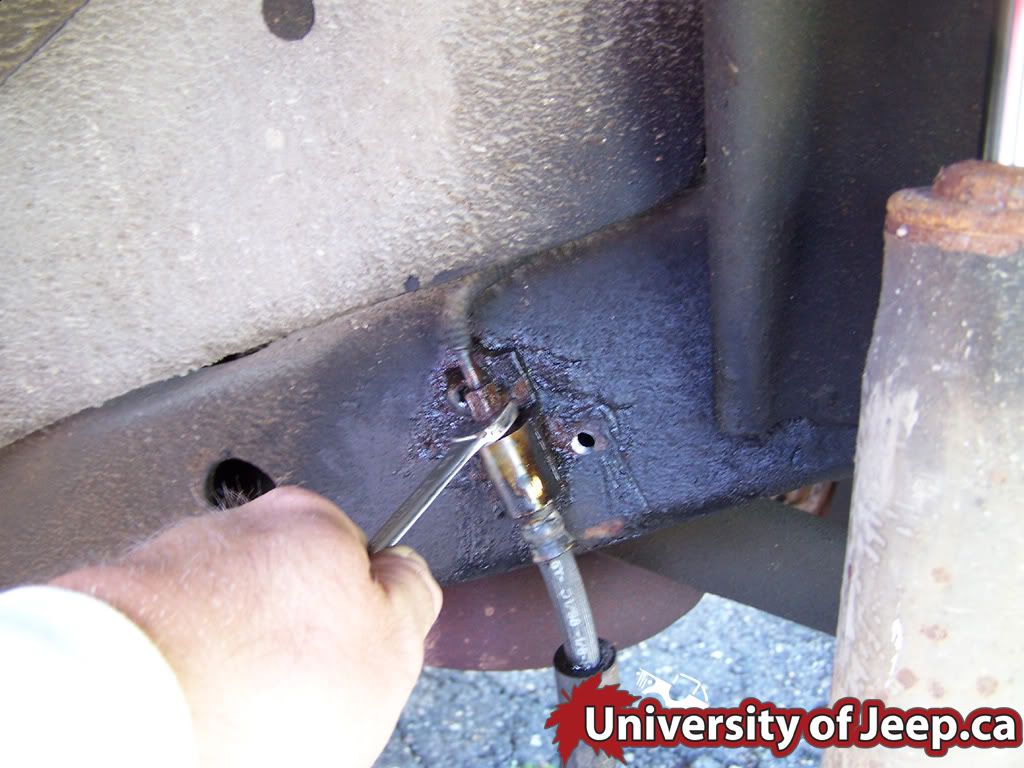 |
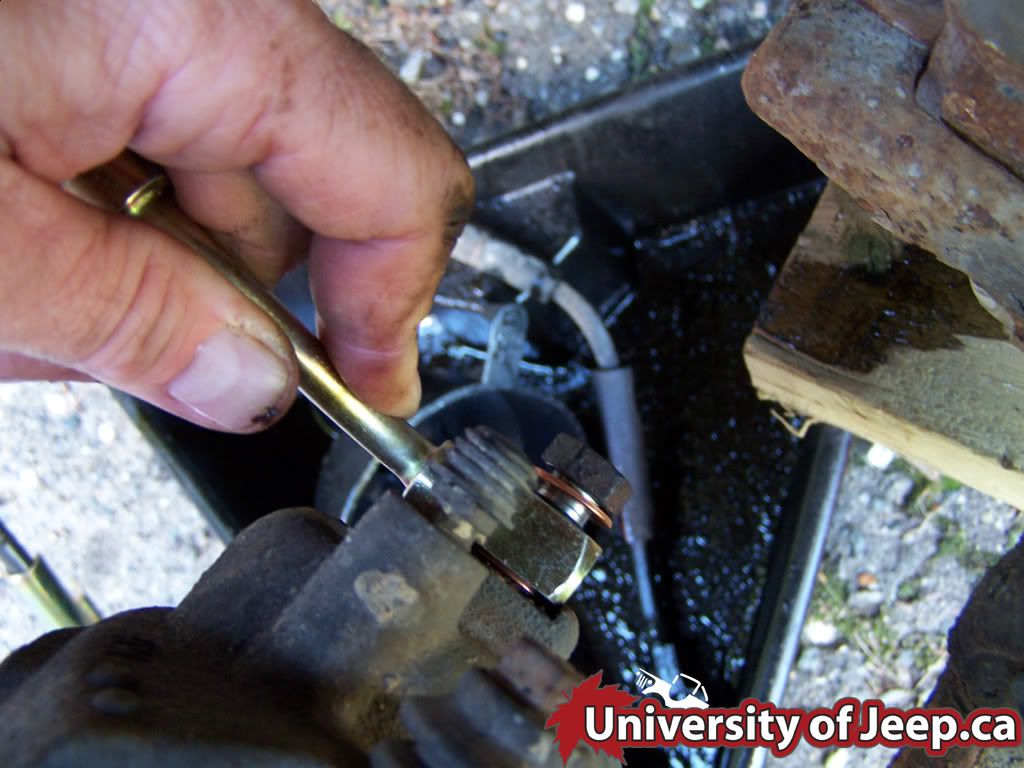
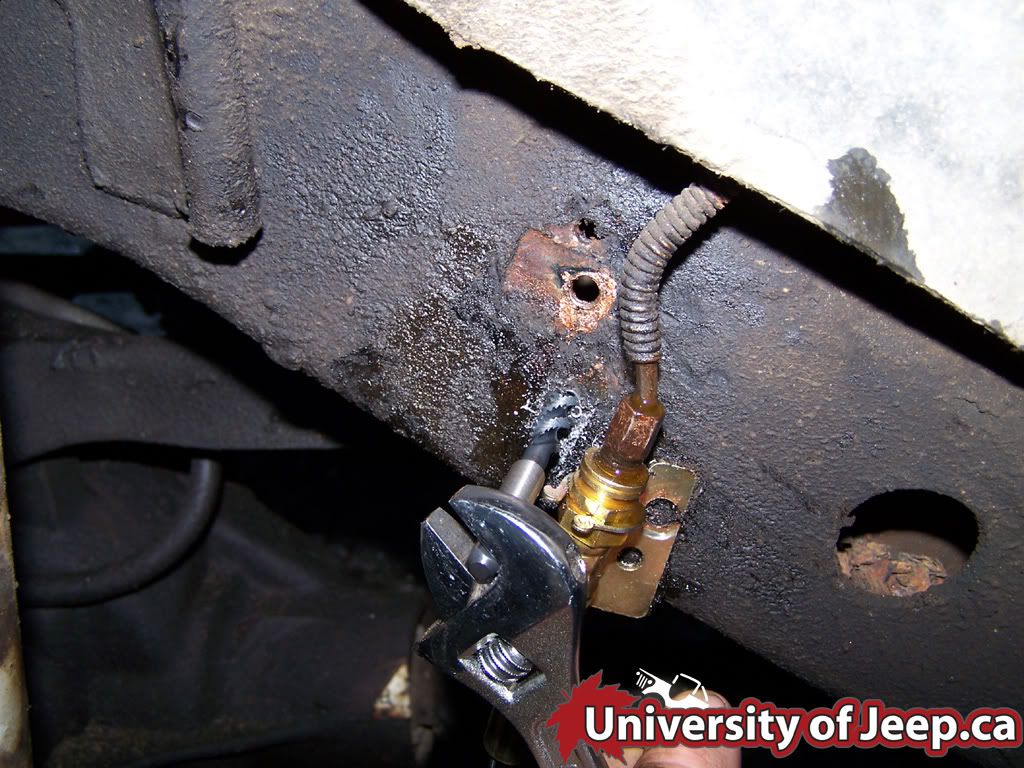
5. So start with the 3/8 wrench and unscrew the brake line at the top. Put your old oil container underneath.
Having the wheels removed will give you more room to work ! |
|
 |
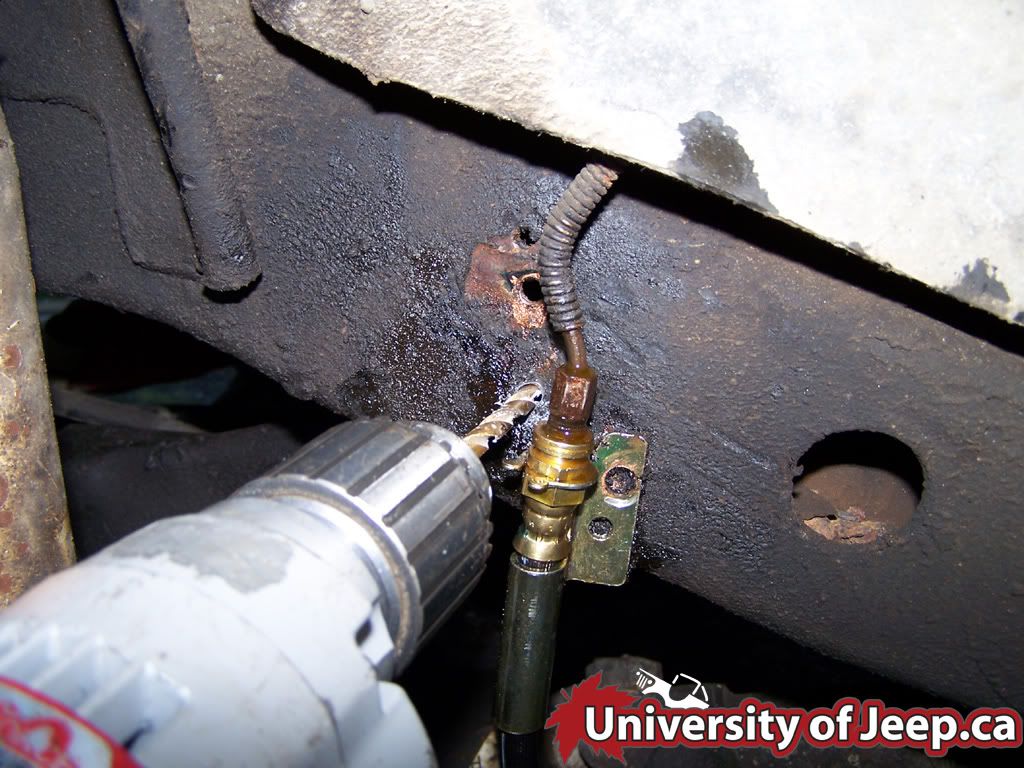
6. Then using the T-40 bit, remove the bracket. | |
 |
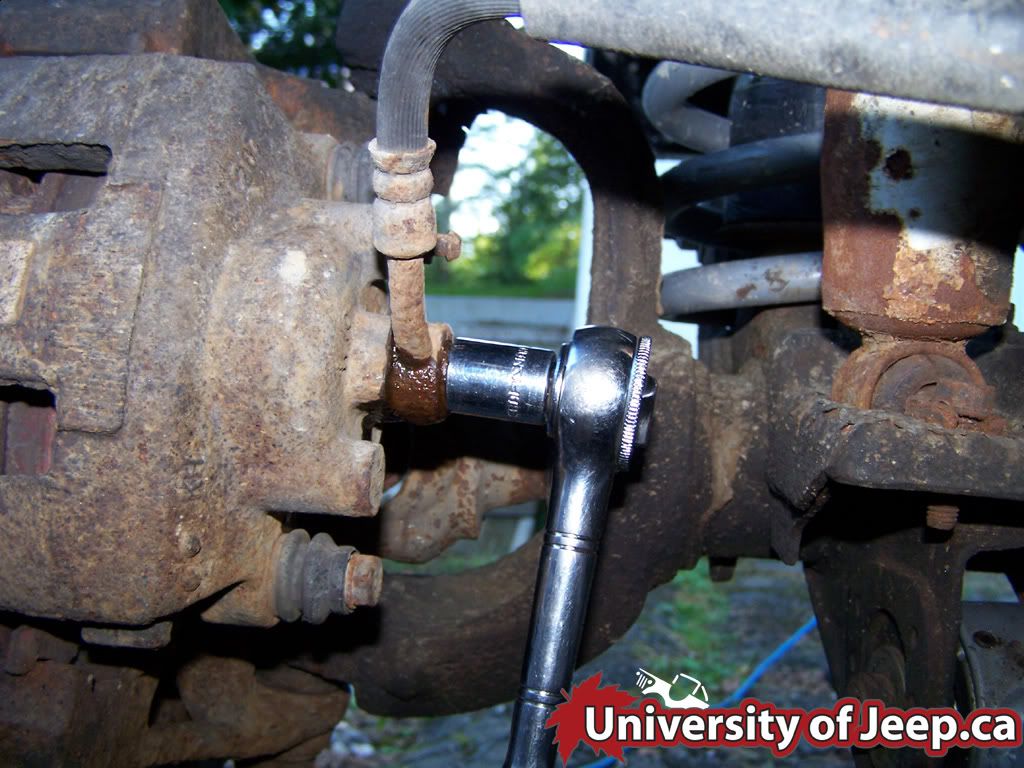 |
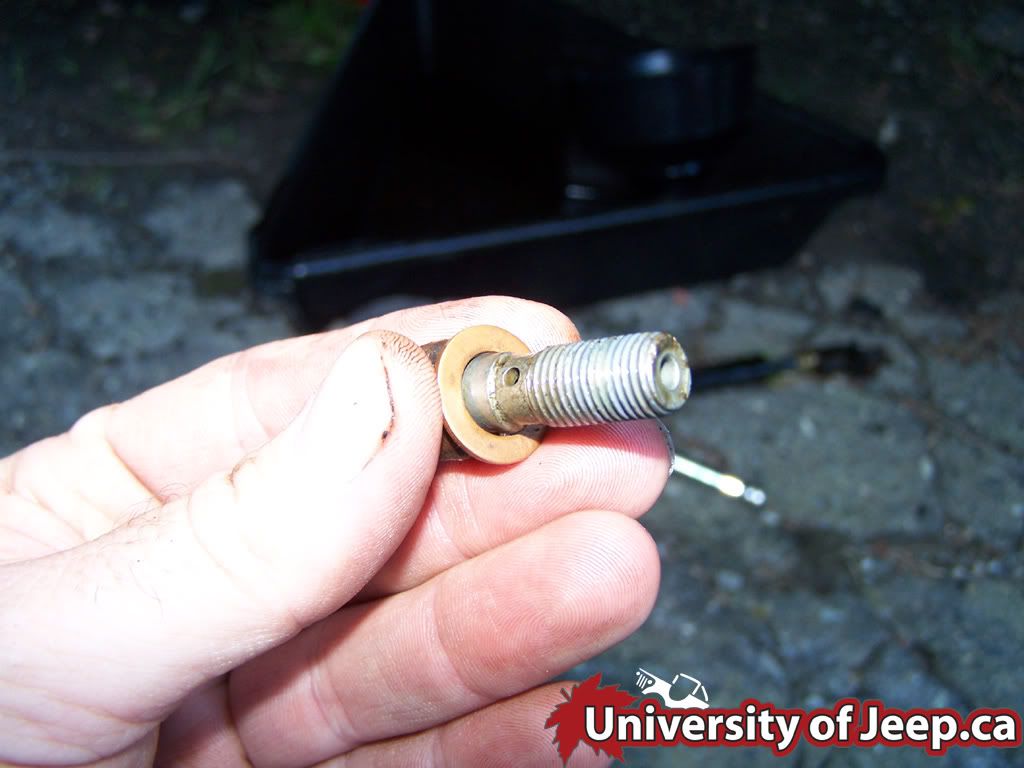
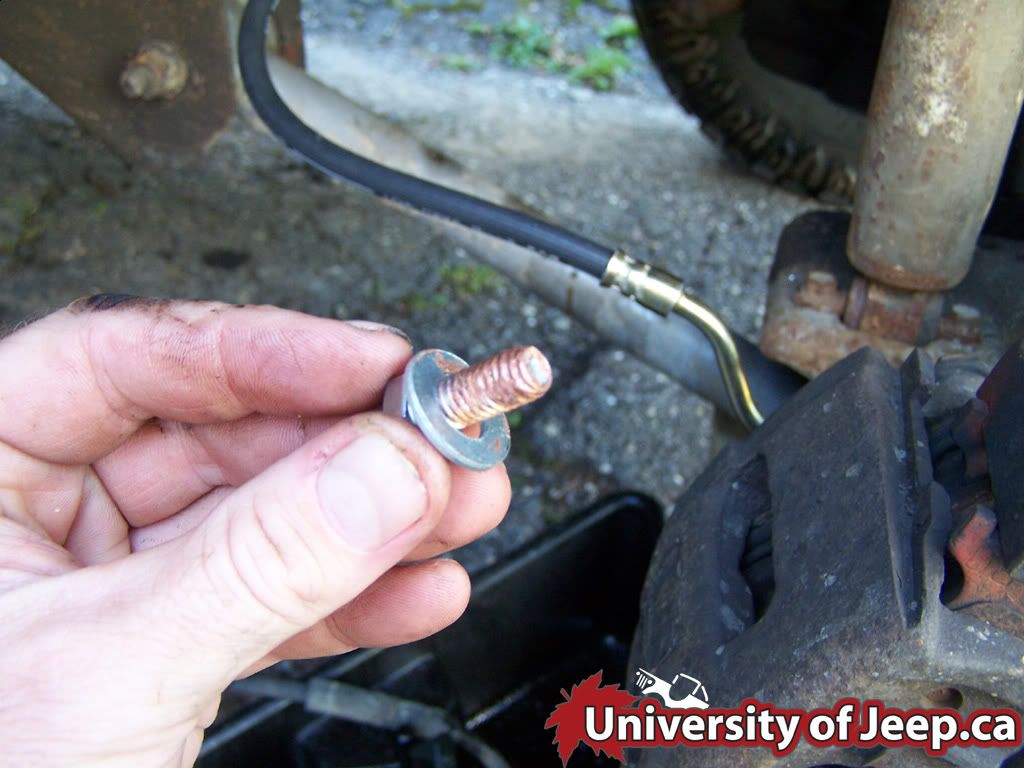
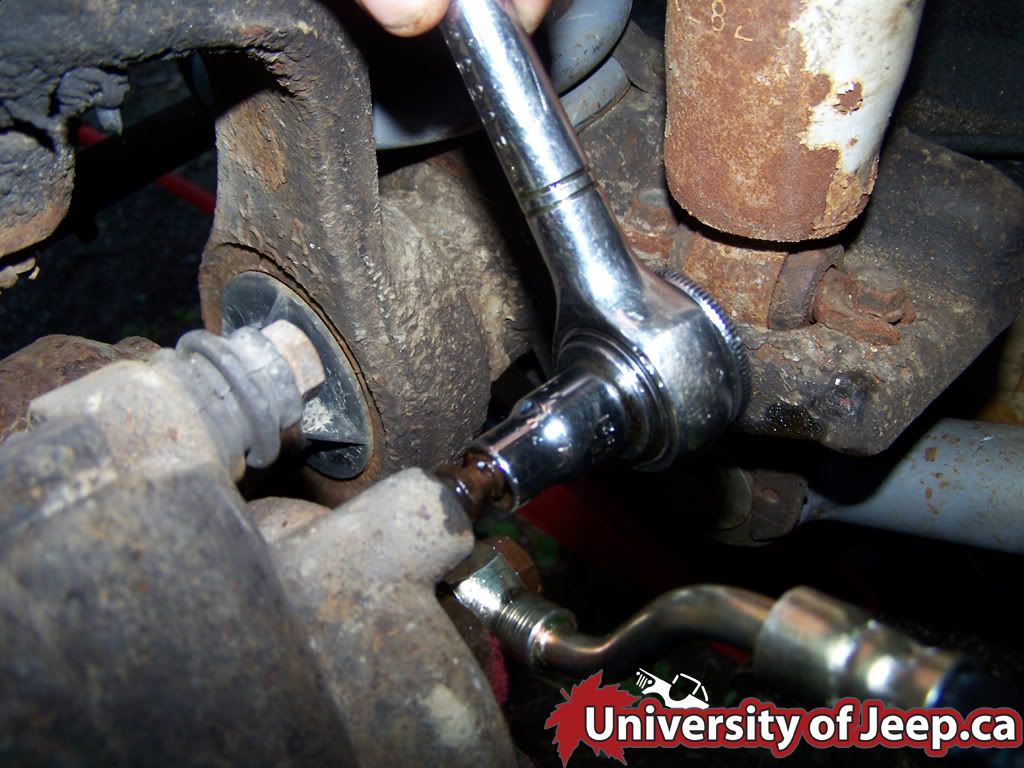
7. With the 9/16 socket, remove the banjo bolt. The brake fluid goed trough the hole in the banjo bolt to the caliper. The 2 copper washers seal the assembly. |
 |
 |
8. At this point, it's just a matter of putting it back togetther. Start with 2 new copper washer and screw back the bottom section of the brake hose. |
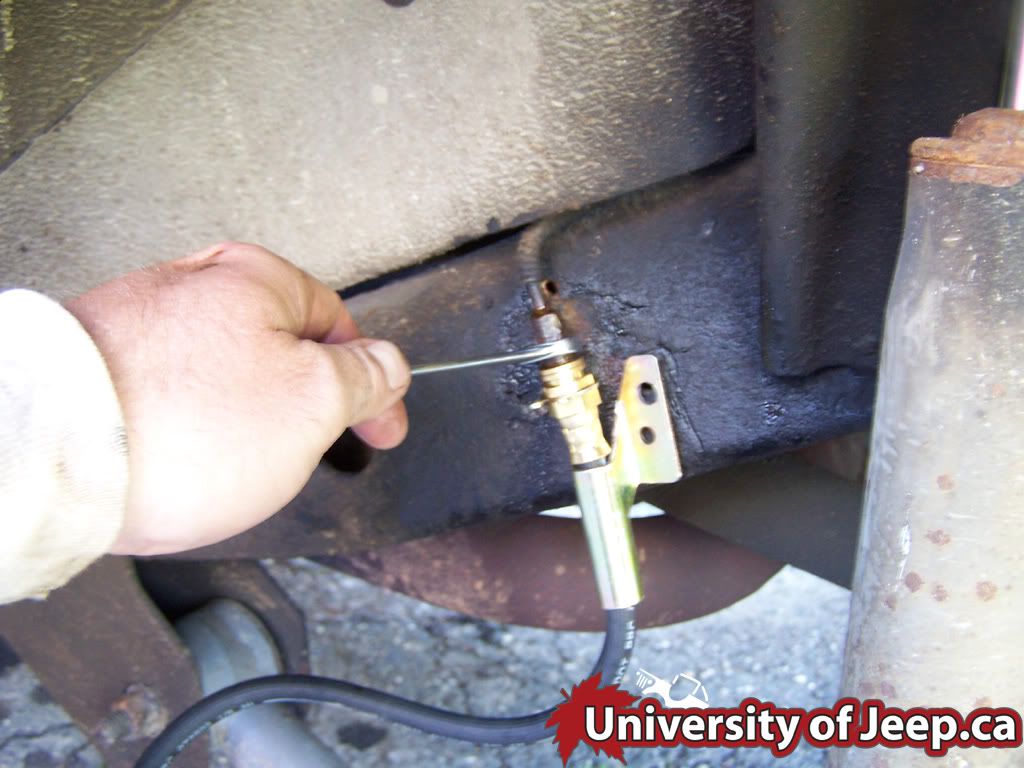 |
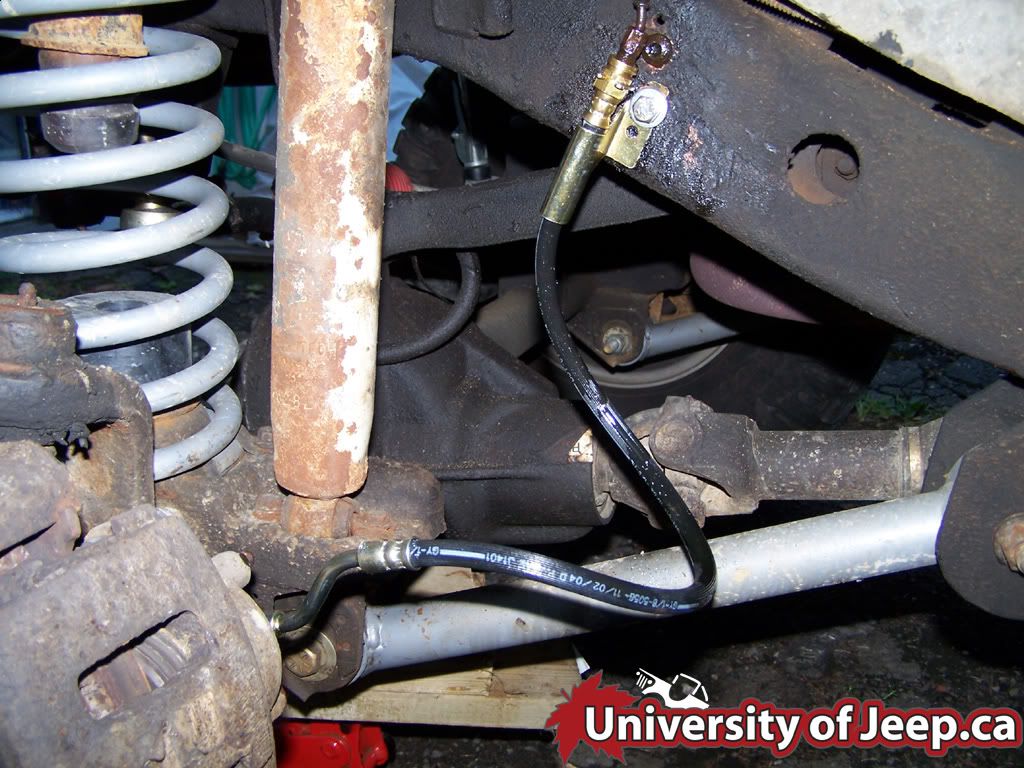
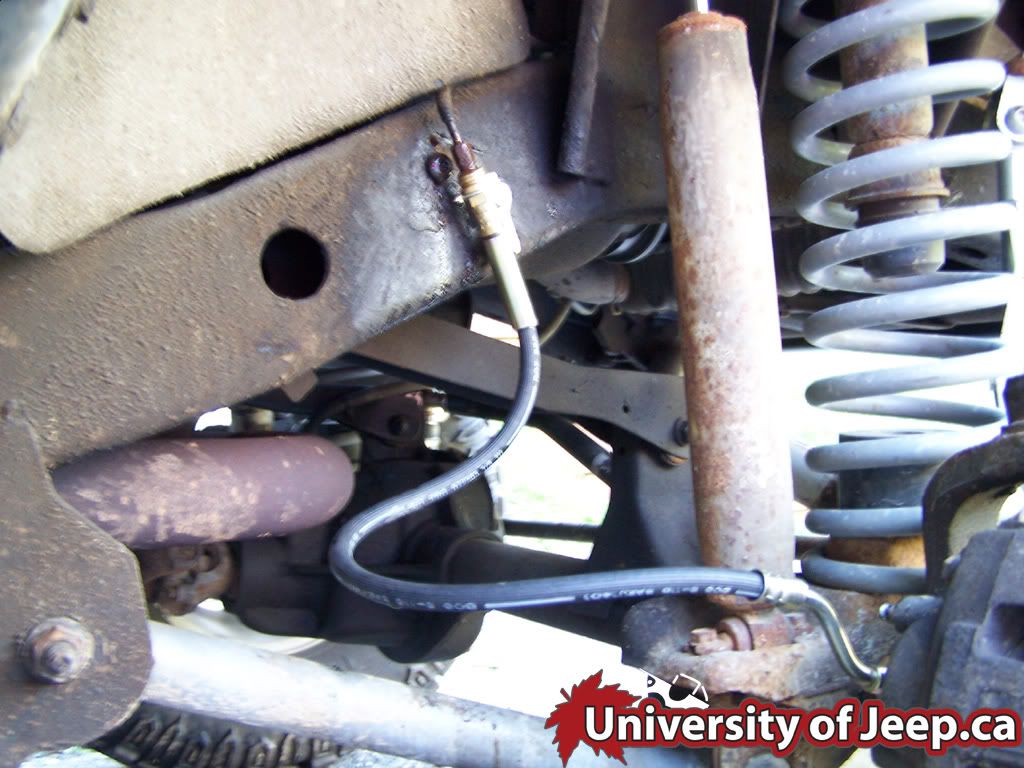
9. Screw back the other end with the 3/8 wrench. As this pic was taken on the passenger side, you definately need to rerlocate the mounting hole on the frame. | |
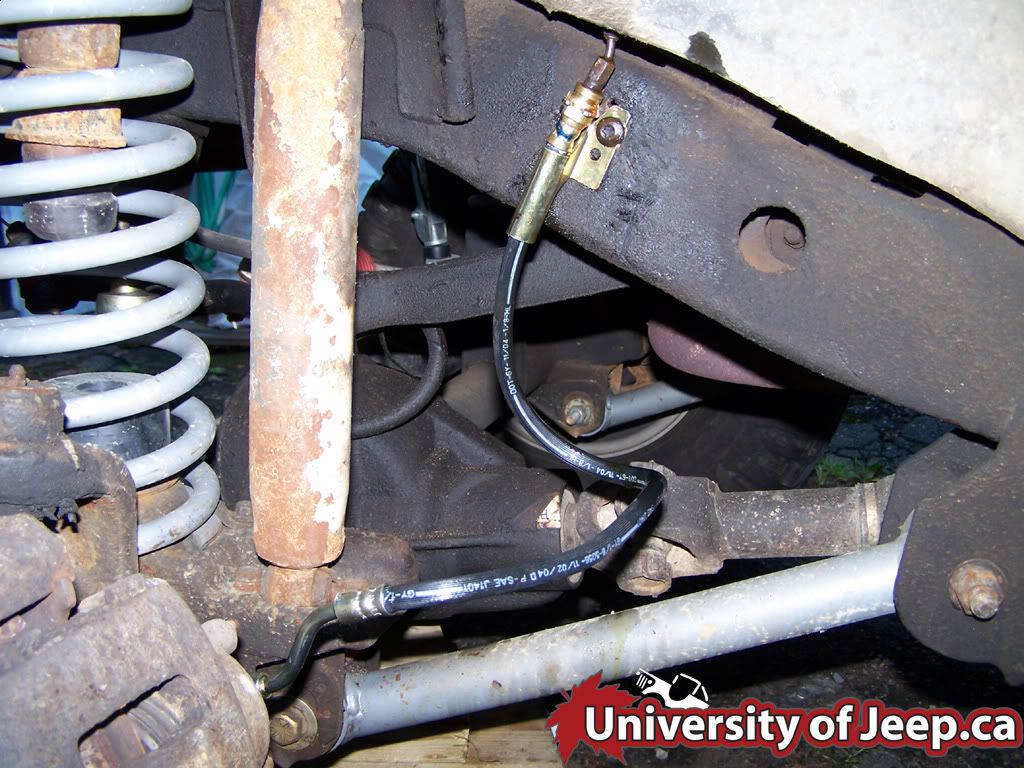 |
10. Drive side view. Even though it looks clean, I devided that the little bend created in the frame line was not acceptable to me so I relocate the bracket down a little bit. | |
 |
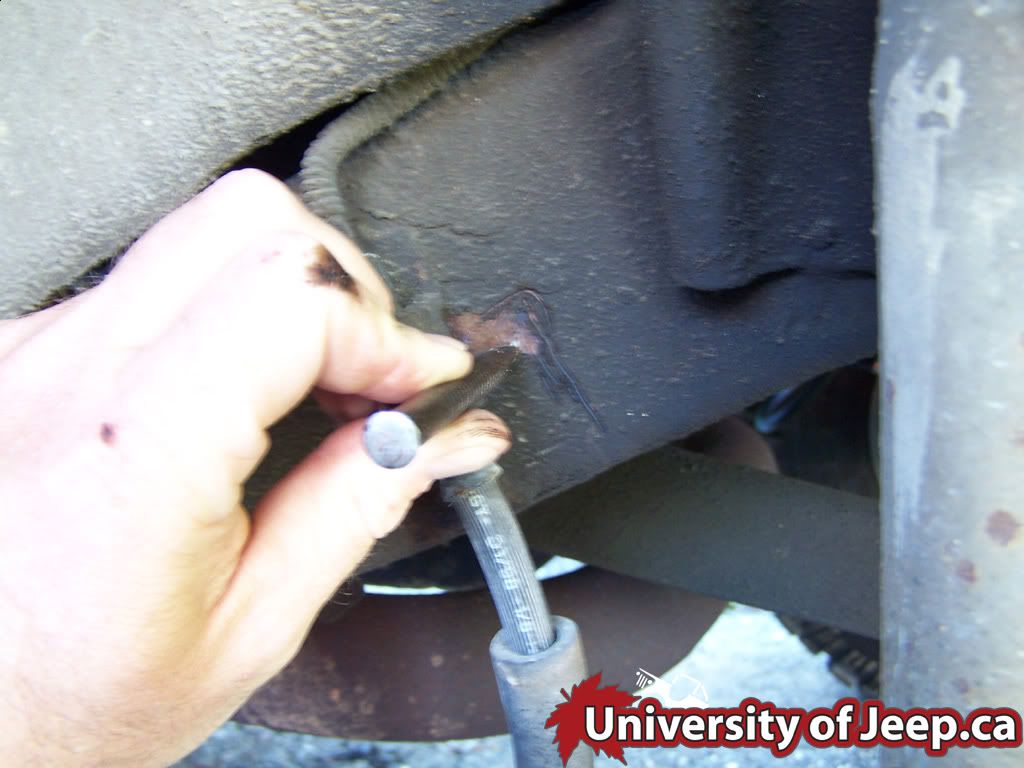 |
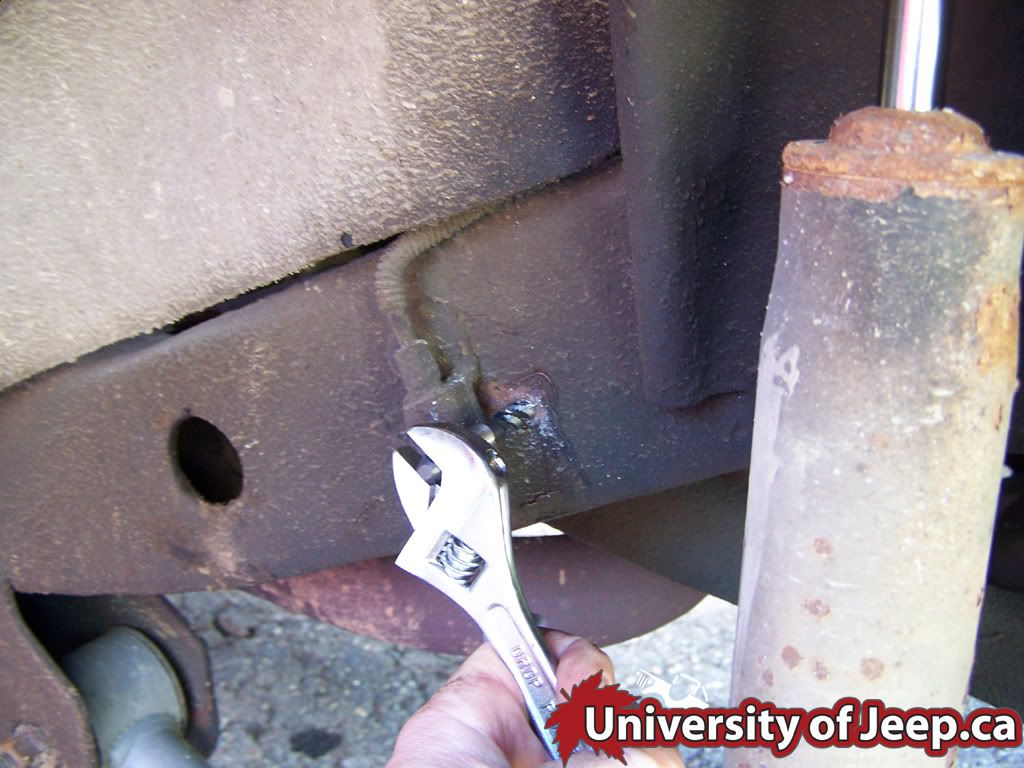
11. Start by marking the hole location with a punch. Then drill it with a 1/4 drill bit. |
 |
 |
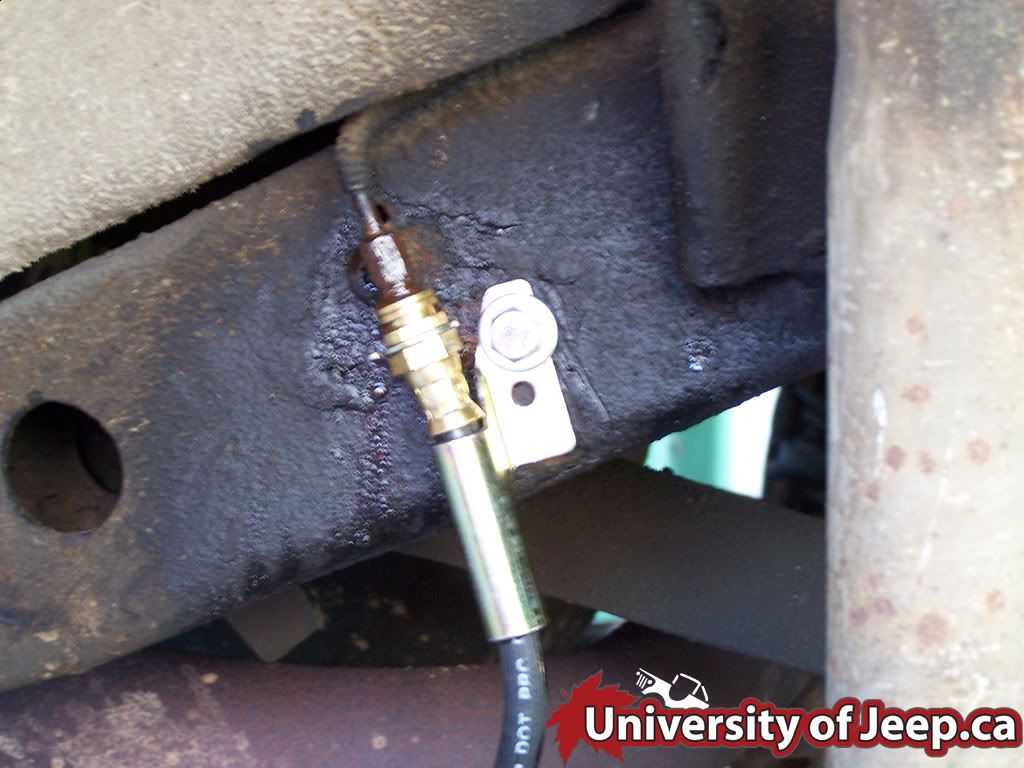
12. I tapped 3/8 and secure the assembly with a 3/8" stainless steel screw and washer for long lasting. |
 |
13. I used some anti seize on the thread of the bolt. | |
 |
 |
14. Some pic on the driver side |
 |
||
 |
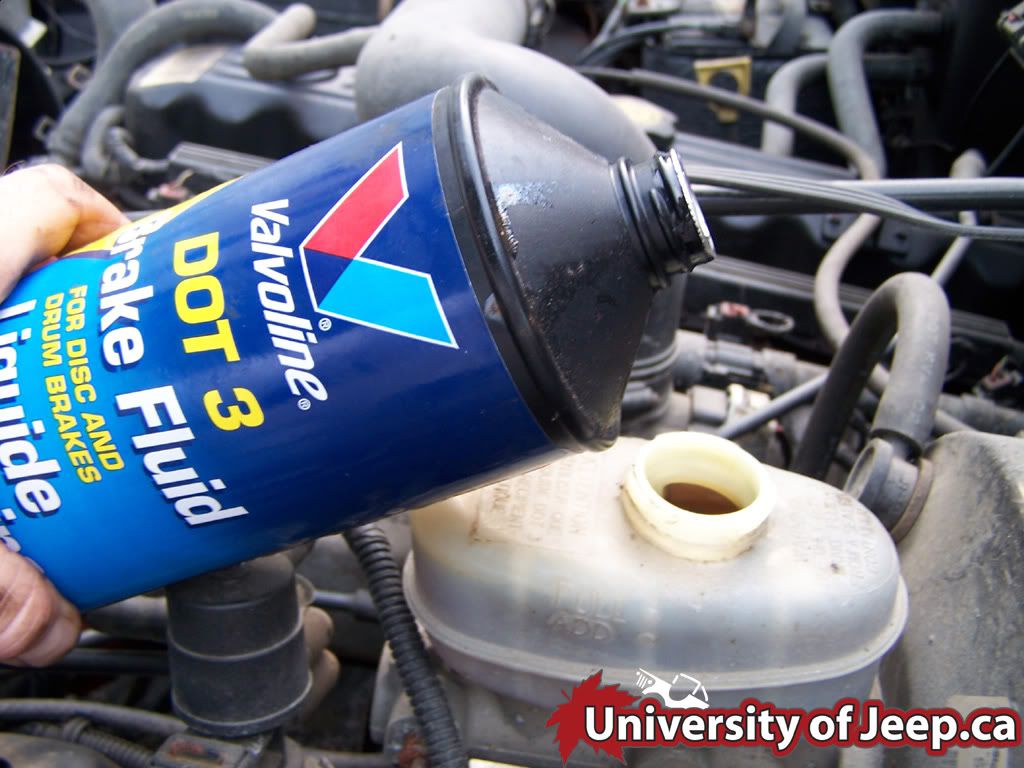 |
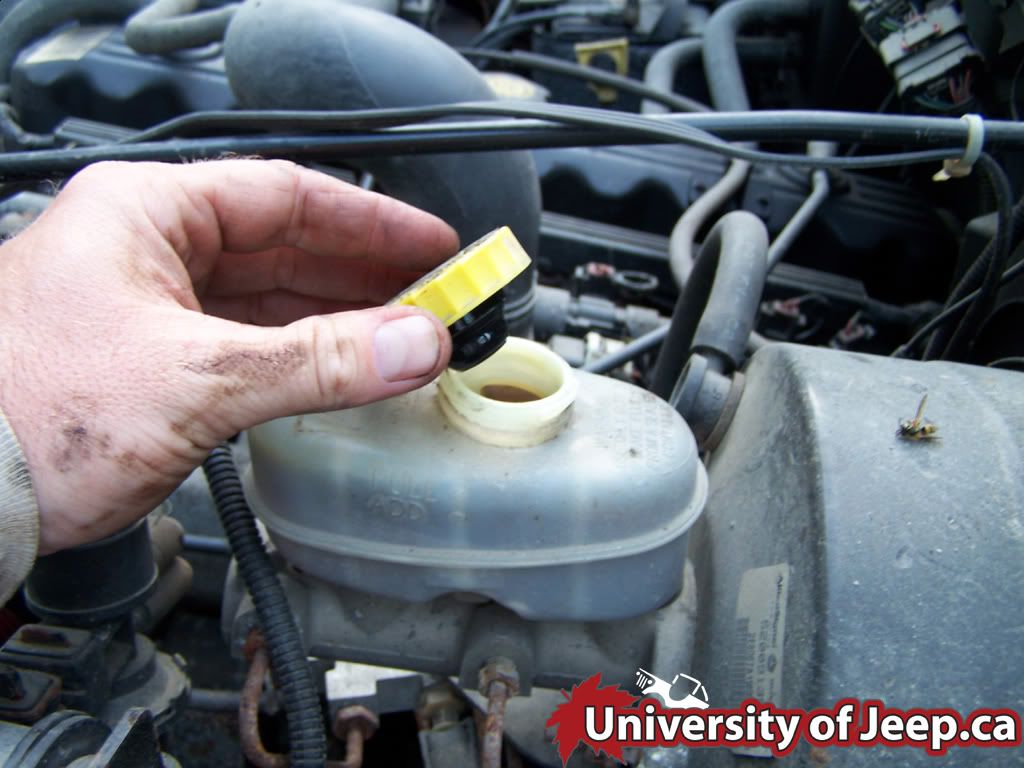
15. Now, before you go, you need to bleed your line. Start by filling the reservoir with your favorite brake fluid. |
 |
16. With a 3/8 socket, unscrew the bleeding bolt and ask someone to push the brake pedal so the air goes out. | |
 |
|
17. The result, passenger and driver side. |
| Keep your old lines as the will make very good trail spare ! | ||
|
|
||
|
Written by: TJ Frank |
||
|
|
||